How to install a sauna: steps, solutions and practical tips
A sauna in Lithuania is not only a place of hygiene, but also a place with deep traditions, where we regain strength and spend time with loved ones. Although the idea of installing a sauna may seem complicated, a clear understanding of the process allows you to avoid mistakes and make the right decisions.
This article provides a practical guide to help you understand, How is the sauna installation going? – from planning and budgeting to finishing and choosing a stove. And if you plan to entrust the work to specialists, professional sauna installation ensures safety, durability and correctly implemented technical solutions.
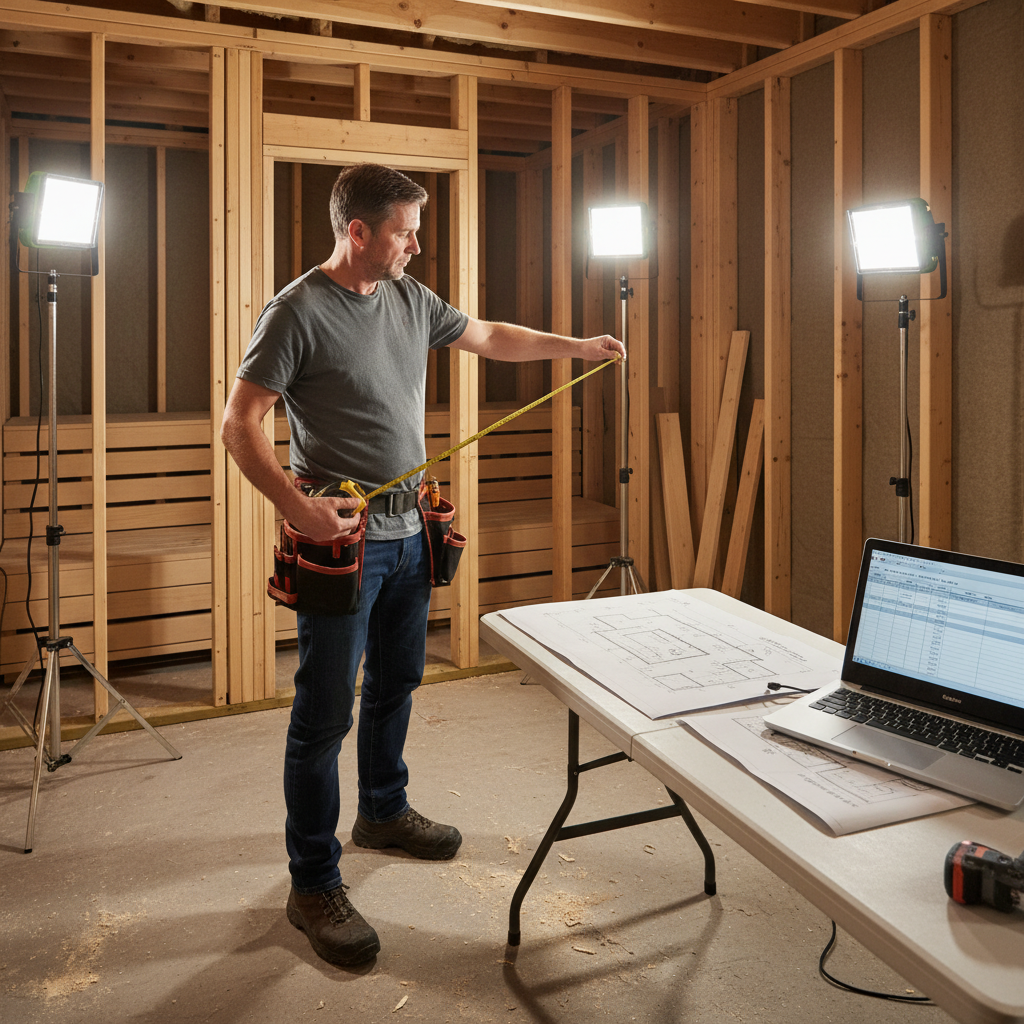
Sauna installation steps: what is important to plan in advance
Successful Sauna construction and installation starts with careful planning. First you need to decide whether it will be a separate building or indoor sauna installation, by integrating it into the space of the house or basement. The size, height and shape of the room directly affect the power requirement of the furnace and the overall sauna installation price.
Location: Ensure that the selected location is dry, has adequate waterproofing, and is convenient for electrical wiring (if an electric furnace is being installed).
Budgeting: Estimate the cost of not only the wood and insulation materials, but also the electrical work, ventilation system and furnace. The price depends a lot on the chosen sauna finishes and materials quality.
The main stages of sauna installation in brief
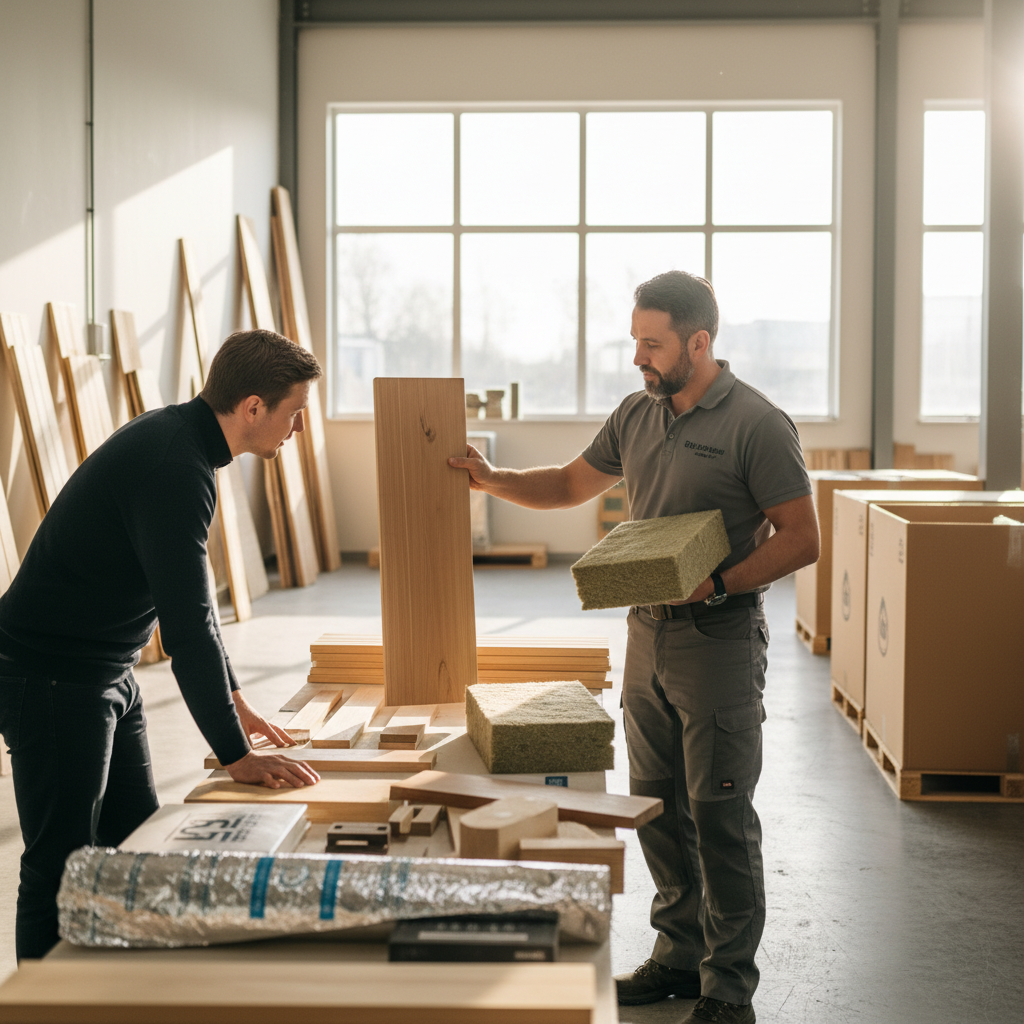
Wall construction and thermal insulation: basic principles
The sauna wall must be an effective thermal barrier. Before starting the interior decoration, it is necessary to perform proper insulation (usually using rock wool) and, most importantly, install a vapor barrier.
Sauna steam insulation is critical. Usually, a special aluminum foil is used for this, which reflects heat back into the sauna and prevents moisture from penetrating the thermal insulation and wall structure. The foiled layer must be installed as tightly as possible, gluing the joints with a special aluminum tape.
Sauna ventilation: how to ensure proper air circulation
It is a mistake to think that a sealed sauna is the best sauna. Insufficient ventilation not only impairs the oxygen supply, but also significantly shortens the service life of the wood. Optimal sauna ventilation diagram includes two main points:
- Inflow (Supply): It is installed low, next to the stove, so that the air warms up immediately.
- Effluent (Extraction): It is installed diagonally on the opposite side, approximately 50–70 cm from the floor, or high up near the ceiling if the sauna is small.
A properly functioning scheme ensures even air circulation and protects the structure from mold.
Sauna decoration and stove: how to choose the right solutions
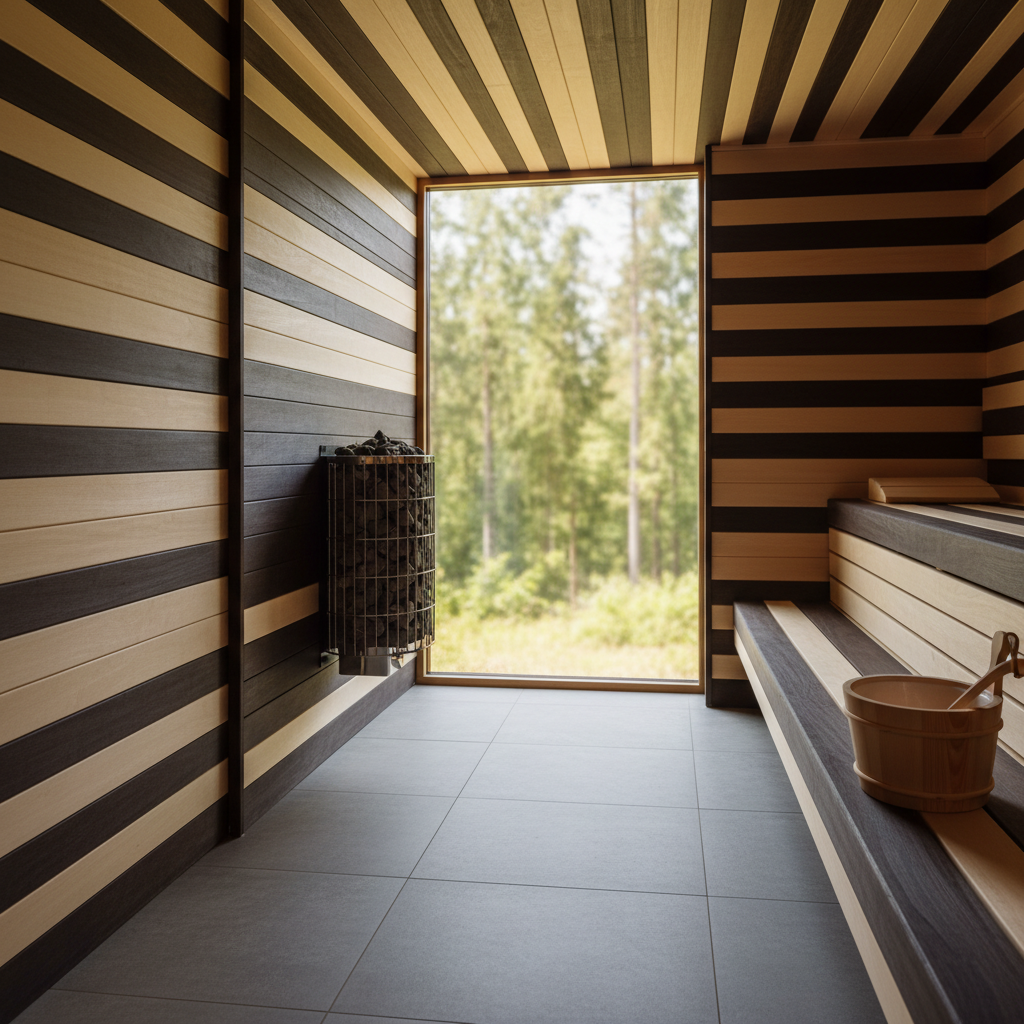
Sauna decoration and selection of materials
Sauna decoration and materials must be resistant to extremes of temperature and humidity. Softwoods should never be used for interior decoration, except for specially heat-treated wood species, due to the resins they release.
The best choices for decoration (walls, ceilings) and beds:
- July: Light, bright, slow-heating.
- Aspen: Strong, does not absorb moisture.
- Black alder: Elegant, with a darker shade.
It is essential to use stainless steel fasteners to avoid corrosion and possible burns from hot metal elements.
Sauna stove: installation and safety aspects
Whether you choose a wood-burning or electric stove, sauna stove installation must be carried out in accordance with strict safety standards. Before installation, read the manufacturer's requirements for safe distances to flammable materials (walls and ceilings).
- Electrical Installation: If the furnace is electric, the work should only be performed by a certified electrician, using heat-resistant silicone wires and special connectors.
- Chimney (For wood-burning stove): The chimney must be installed safely, using separate, insulated segments through the ceiling and roof to avoid contact with wooden structures.
Skillfully implemented sauna installation will ensure that your home is not only a place to relax, but also an investment in health that will last for many years.
If you are considering a custom solution or want to avoid technical errors, a professional sauna installation allows you to achieve the best result in the long term.
Frequently Asked Questions (FAQ)
How long does it take to fully install a sauna?
The total time required for a quality sauna installation depends on the size and complexity of the project. On average, if the frame, interior decoration, insulation and sauna stove installation takes 2 to 4 weeks. The planning phase may take additional time.
What is the approximate cost of installing a sauna?
Sauna installation cost varies widely. A small (~4-6 sq. m) sauna with mid-range finishes can cost from 3,000 to 6,000 EUR (materials and labor), depending on the type of stove chosen (electric is often cheaper than wood-burning) and sauna finishes and materials.
What are the most common mistakes made when insulating a sauna?
The most common mistake is incorrect sauna steam insulation. Sauna construction requires that the foil barrier be completely sealed. Any crack or poorly glued seam allows moisture to penetrate, which eventually damages the insulation and wooden structures. Also, quality is often ignored sauna ventilation diagram.